If you don’t have PicMonkey, get it FREE here. If you get the subscription, you’ll get way more features. FYI – we (Planet Marketing) are current customers of Picmonkey.
Get Picmonkey for Free!
This is a quick “How to” post covering how to use Picmonkey. We use Picmonkey for all our WordPress Featured images and YouTube thumbnails. Your sizes will differ, but after this you’ll be able to complete a Picmonkey image in 5 minutes.
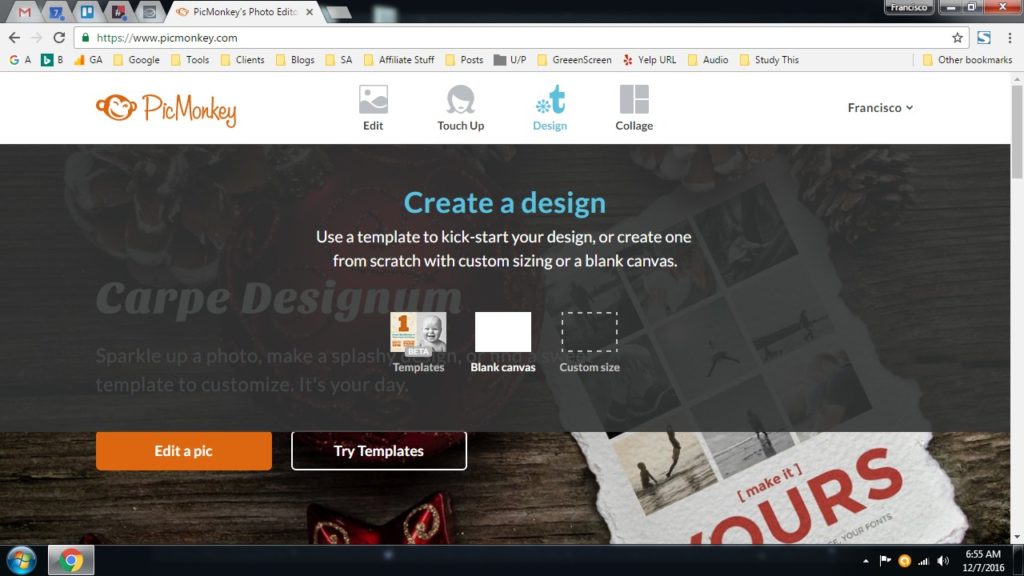
Hover over “Design” and click “Blank Canvas”. Then click on “square”. Or you can upload your own image under “Edit > Computer”.
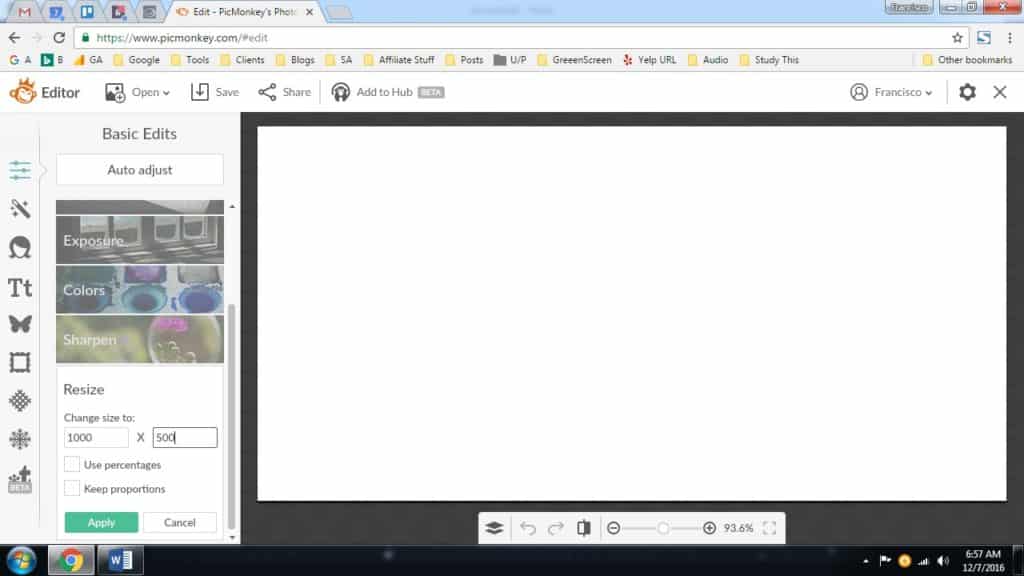
1st thing to do is resize the image to 1000px x 500px. Uncheck “Keep Proportions”. Click Apply.
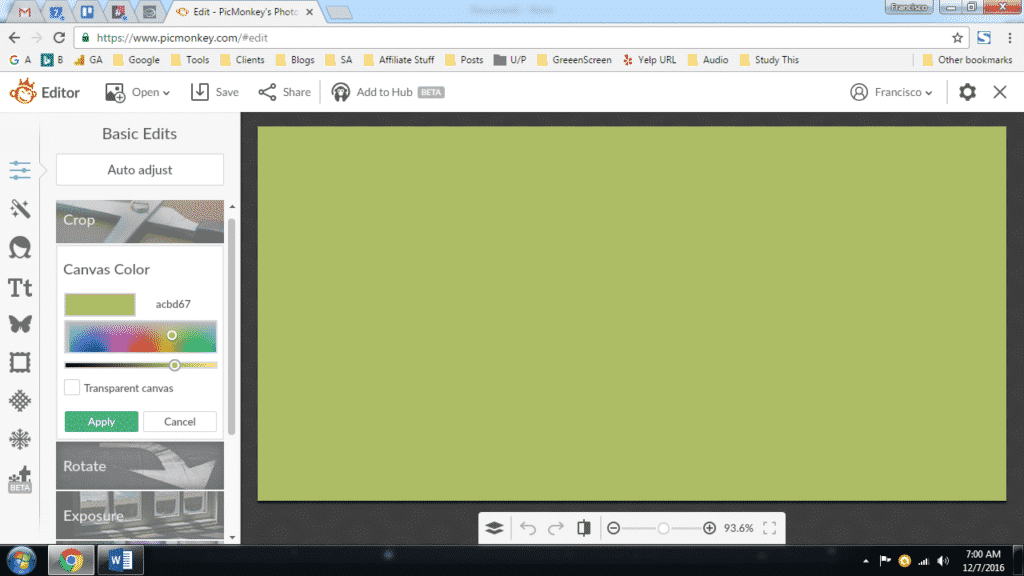
Stay in “Basic Edits” and click on “Canvas Cover”. Pick a color for the background and click Apply. If the topic is about a website that we are reviewing, you can match one of the colors in their logo.
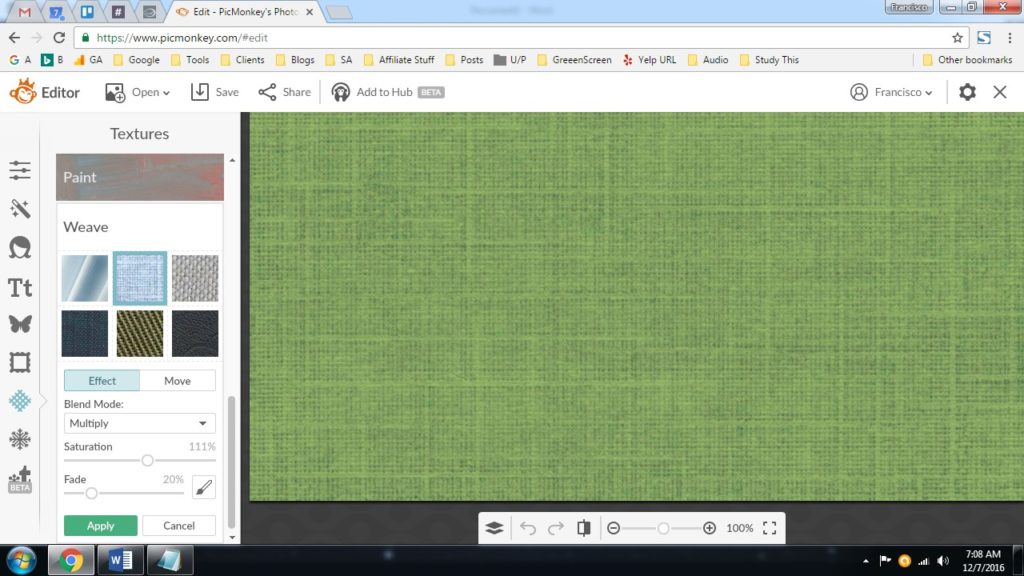
Then go to Textures in the left column and pick something. Use the blend, saturation, and fade options. Click “Apply”.
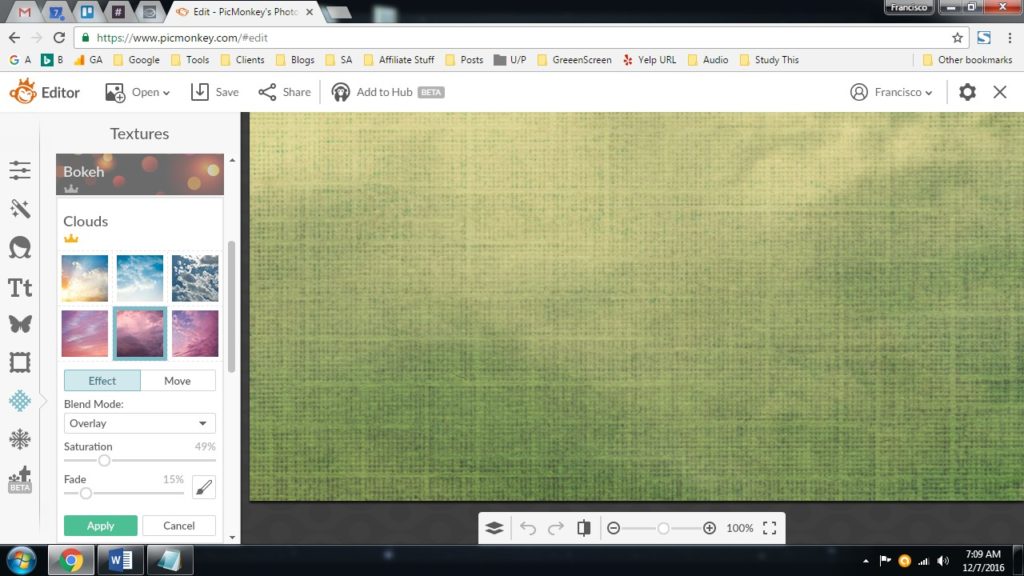
If you want, you can add another texture on top. You can add as many textures as you want so each image is unique.
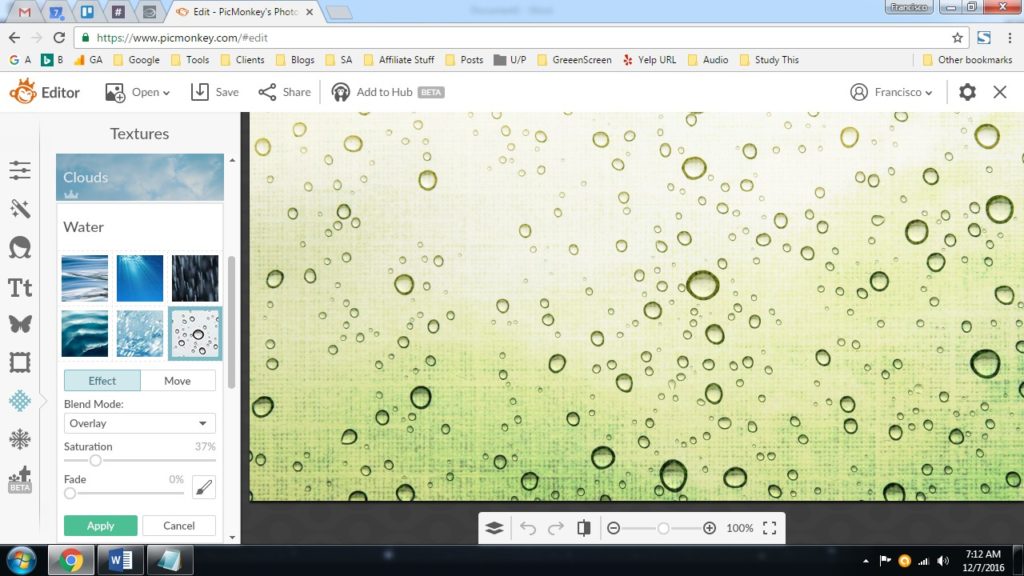
This is a 3rd Texture under Water.
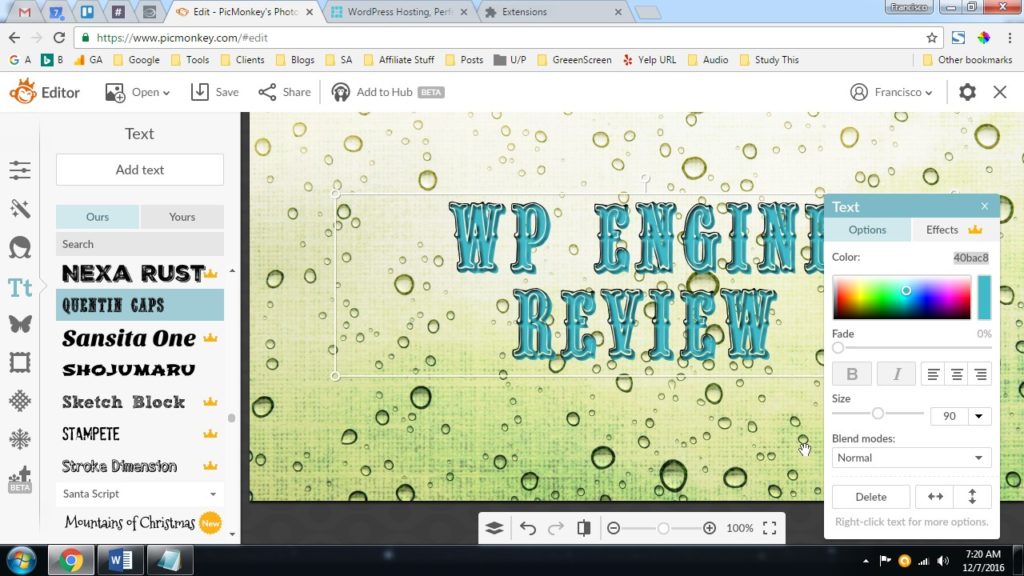
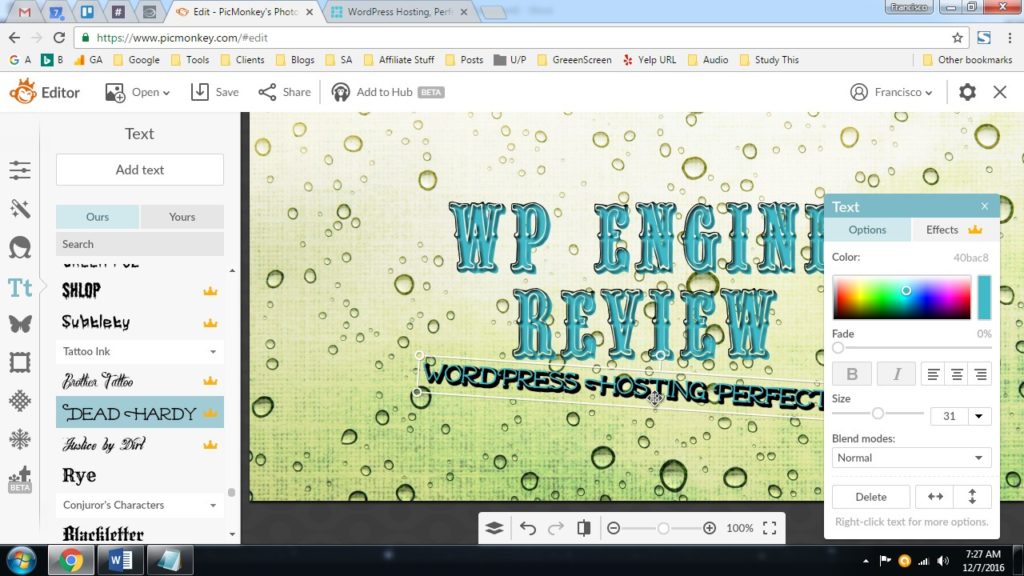
For the text, you need something BIG because it’ll be the Featured Image for the blog post. Write something like the TITLE of the post. In our case, WP Engine uses 40BAC8 in their logo. We used it here. Use the Effects tab if you need to. I use this Google Chrome extension to pick colors: https://chrome.google.com/webstore/detail/colorpick-eyedropper/ohcpnigalekghcmgcdcenkpelffpdolg?utm_source=chrome-app-launcher-info-dialog
Add sub-text to entice readers to read on.
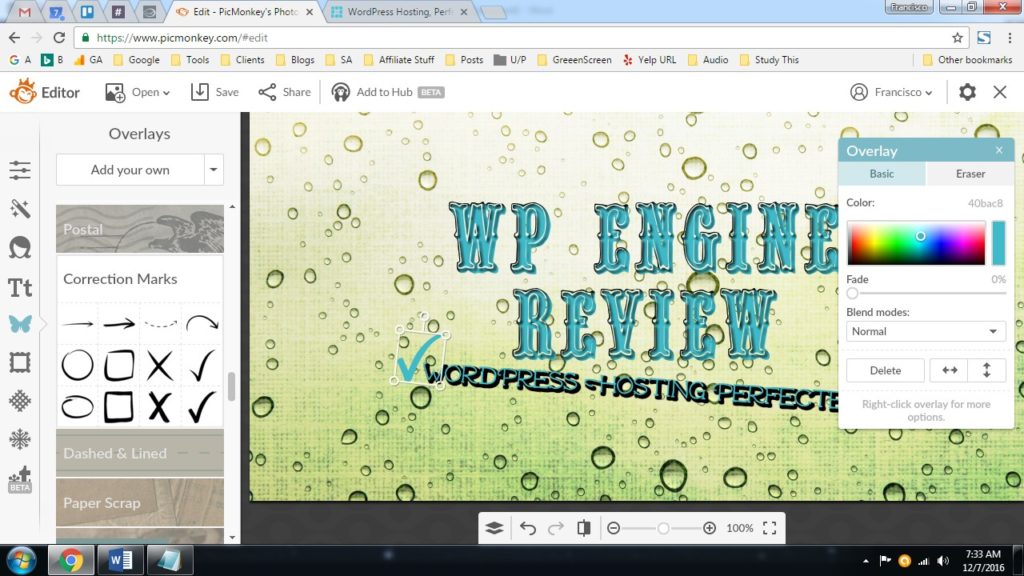
Add an icon under “Overlays” if you want. In this case I used 40BAC8 on the check mark.
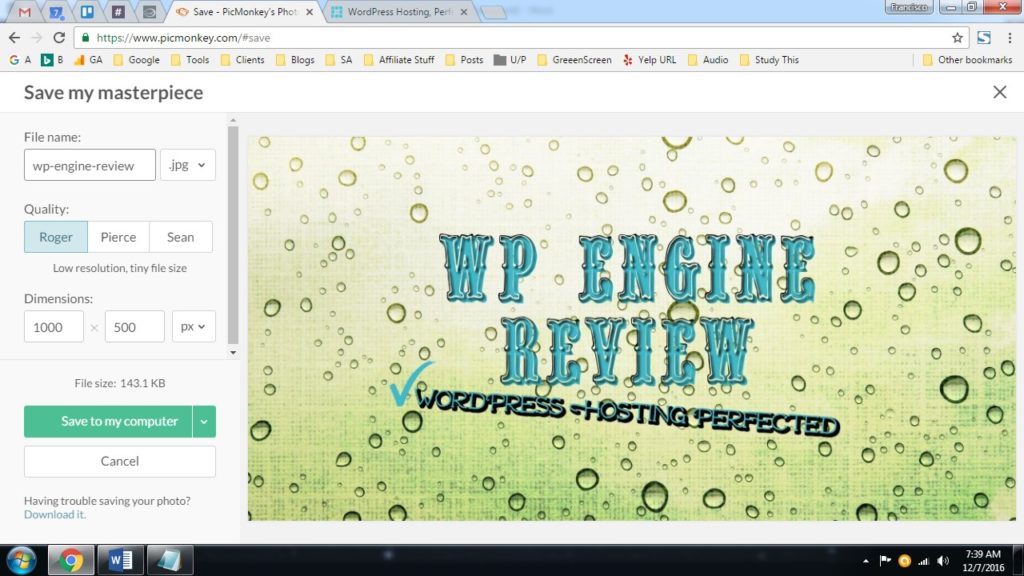
We create a lot of featured images so we save the image using the title of the post so we can easily filter in the WordPress media library. Choose .jpg and Quality “Roger” Low Resolution so it loads faster. You have the options to choose higher quality, but for us we want fast loading overall.
Any questions, ask below in the comments or on Live Chat.

